Although porcelain tiles and ceramic showers are durable and can hold up well against most stains, tiled shower stalls are not impervious to mold and grime. And let’s face it, no one wants to look at dirty walls. Especially while they’re trying to clean themselves up in a shower!
If you’re having trouble cleaning tiled shower stalls or keeping things clear of mold and grime on your shower walls and shower floor, look no further. We’ve got all the tips on how to get tiled shower stalls clean and what to use.

How to Clean Tiled Shower Stalls
Step 1: Pre-scrub
The first step to clean tiled shower stalls is to pre-soak the shower doors and tiles. This will remove soap scum from these areas. Use plastic mesh non-scratch scrubbers to remove soap scum from the doors and tile. Then, before using your cleaning product, scrub the tile and shower door with a dry scrubber to loosen soap scum build-up, The Maids recommends.
Step 2: Spray and soak
Next, spray and soak the areas you’re cleaning in order to remove mold and mildew that may be in the bathroom tile grout. To do this, you’ll want to use your favourite tub and tile cleaner to pre-treat the entire shower. Try to especially focus the treatment on areas of heavy build up.
When spraying and soaking your shower with the cleaning product, make sure to leave all doors and windows open to air out the bathroom. You may even want to use fans and/or dehumidifiers to remove moisture when working with cleaning products that target mold, the Centers for Disease Control and Prevention (CDC) recommends.
After covering the surface of the shower with cleaner, leave it. Let the product do its magic to penetrate the soap scum and mildew in the tile grout and shower tiles by letting it soak for five minutes. If you notice your shower has mold, make sure to protect yourself with gloves, a mask, and goggles. The CDC also instructs not to mix cleaners when cleaning up mold.

Step 3: Scrub
After letting the cleaning product penetrate the mold and grime for a few minutes, it’s time to scrub. The cleaning product should have loosened the gunk on your shower doors and ceramic tiles, so break out your plastic all-purpose scouring pad and scrub away, The Maids instructs. Scrub the surfaces until the shower is clean. If needed, reapply additional cleaner for areas that need it.
To work the cleanser further in between the tiles to remove dirt, bacteria, or mold, use a grout brush or a toothbrush. On the other hand, when dealing with soap scum and water marks, use a soft brush to scrub them with an alkaline cleaner.
Remember to always toss out a brush that you’ve used to scrub mold. This will prevent re-contamination.
Step 4: Rinse
Then, using hot, clean water, rinse down the shower to get rid of excess soap and cleaning products. Rinsing with hot water will be helpful to loosen build up that is left over after scrubbing.
Step 5: Dry
Lastly, it’s time to dry the shower surfaces. After putting in all that hard work to rid your shower of water spots, don’t let them happen again so quickly. To avoid more water spots, dry off the door and bathroom tile.
Step 6: Repeat routinely
Now that you have a clean shower, let’s keep it that way. To keep a clean shower, repeat the cleaning process described above routinely. Use a soft sponge and pH neutral ceramic and porcelain tile cleaners. Don’t forget, even during a routine cleaning, you should always be wiping down the shower floor and shower walls and door after to keep everything dry and clean.

Supplies to Use
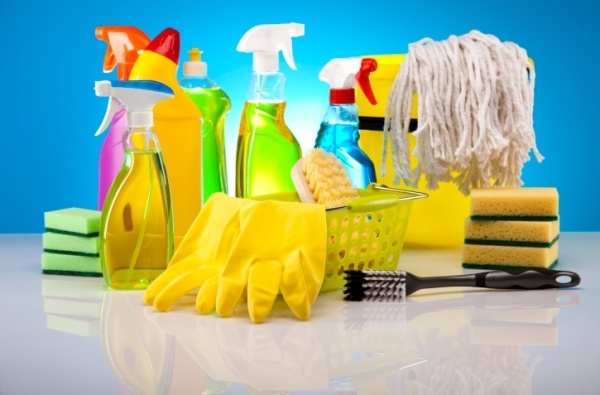
According to The Maids, Home Repair Tutor and Build Direct, the best cleaning supplies to use on tiled shower stalls include:
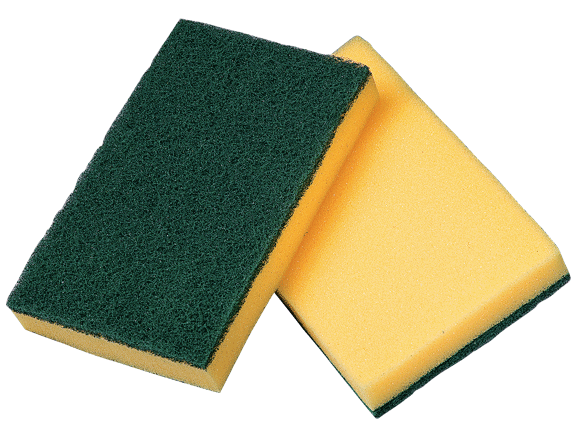
- Plastic mesh non-scratch scrubbers
- Your favorite tub and tile cleaner such as OxiClean Versatile Stain Remover, Eco Orange Citrus Cleaner, or Chlorox
- Plastic all-purpose scouring pad
- Towel for thorough drying
- Grout brush or toothbrush
- pH neutral ceramic and porcelain tile cleaners
Make sure not to use products such as cleaners and detergents that are made for other bathroom fixtures. According to Build Direct, these products can contain abrasives and chemicals that can scratch your tile and damage your grout. Additionally, Build Direct recommends to avoid using lime and mineral dissolving products on your grout. The harshness of these products can break down sealants.
Now that you have clean tiled shower stalls, head to the nearest Kitchen & Bath Classics showroom for other necessities to keep a pristine shower like low-flow showerheads. If you’re interested in revamping your shower and tiling a shower wall, check out our tips on how to make tiling easier.


