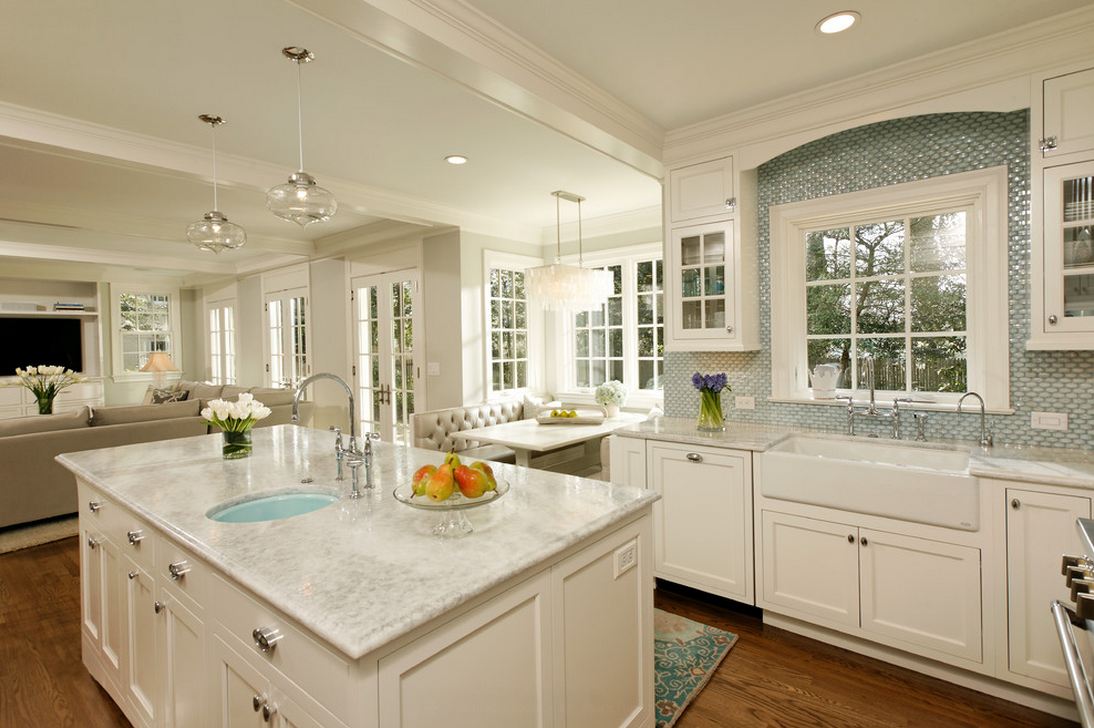
Refacing kitchen cabinets means covering your current cabinets with new materials. These materials could include veneer, or a thin surface of wood, thermofoil, or laminate. Basically, cabinet refacing is switching out the cabinet doors after you cover all the exposed part of the frame with veneer or another material that matches the new finish.
The project of refacing cabinets consists of removing and replacing cabinet drawers and drawer fronts, skimming the remaining part of the cabinets, and removing and replacing accessories. According to The Spruce, cabinet refacing is less expensive and more environmentally-friendly than the common kitchen cabinet demolish-and replace process with new cabinet doors.
Cabinet refacing can cost as much as $13,658 to have a professional do the job, Home Advisor reports. If you’re looking to upgrade your kitchen on a budget, instead of paying a professional to reface your cabinets, try to do the project on your own. Here’s the eight-step process for refacing kitchen cabinets:
1. Remove and prep cabinet doors
First, remove all cupboard doors. Then, clean the faces and sides of the cabinets to remove grease. After allowing the cabinets to dry, scuff the surfaces with sandpaper. This Old House recommends using 150-grit sandpaper before wiping the cabinets down with a tack cloth.
Next, apply carpenter’s glue onto the plywood panel and glue it to the exposed end of the cabinet bank. Secure the panel with nails.
Tip: Consider using a door instead of plywood to finish off the exposed end if you’re working with a panelled door design.
2. Cover stiles with veneer
Begin by measuring all of the vertical-frame members, called stiles, as well as the horizontal members, called rails. Then, use a straightedge and a utility knife to cut the veneer into strips. Cut each strip so that it’s half an inch wider than your measurements and 2 inches longer than each stile and rail. This Old House recommends cutting the veneer so the wood grain will run lengthwise.
After you’ve cut the veneer, line a piece of it up to a stile so that it overlaps at all edges. Then, press the veneer in place.
Tip: Begin by just peeling away a corner of the self-stick backing when you start to press the veneer into place. Then, peel away the backing as you go, pressing down the stile.

3. Press the veneer into place
After you’ve covered the stile with veneer, it’s time to press it down to stay. For this step, use a wood block and press firmly along the full length of the veneer strip. This will push out any air bubbles to ensure total adhesion.
Tip: Would you like a more finished look? Cover the inner edges of the opening of the cabinet doors with strips of veneer prior to covering the face of the kitchen cabinet.
4. Reface the cabinets
After you’ve placed veneer on the stile, use a utility knife to trim the excess overlapping onto the kitchen cabinet opening. Trim all the edges.
Tip: Run the knife along the inner edge of the cabinet frame as a guide and a straightedge as a guide, This Old House recommends.
5. Cover the cabinet rails with veneer
To cover the cabinet rails, apply the veneer so it overlaps the stiles on both sides of the rail. Then, cut through both layers of veneer.
Tip: Line up a try square so the blade you’re using can run along the inner edge of the frame and the stock is against the bottom of the cabinet. This will allow you to make a perfect joint between the rail and the stile, This Old House suggests.
6. Remove trimmings
Now, it’s time to remove veneer trimmings. To do this, simply peel away the excess piece of the rail veneer that you cut off. Then, lift the edge of the rail veneer, exposing the cut piece of the stile under it. Slide a razor under the edge to lift it and then remove it.
Next, you’ll need to push the rail veneer back in place and then smooth it down. Repeat these steps for all of the face frames.
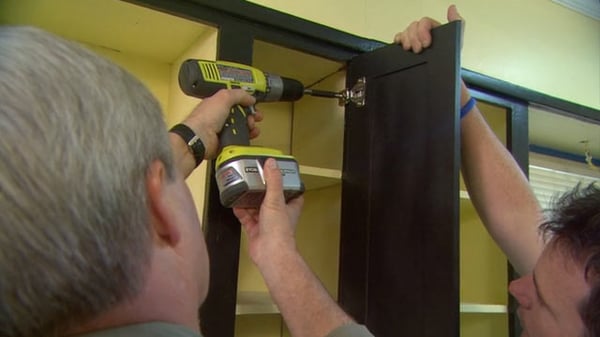
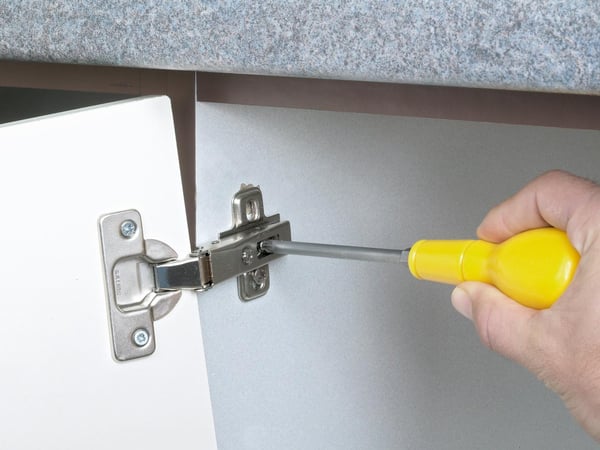
7. Install the doors
To hang the doors, screw the hinges to the door. Then, line up the door in the cabinet opening and temporarily screw it to the frame. Close the door and position it correctly before opening the door and tightening the screws.
8. Attach cabinet hardware
Lastly, it’s time to attach the cabinet hardware, such as knobs and pulls and finish the drawers. Use a drill or a screwdriver and make holes for knobs on the doors as well as for the pulls on the front of the drawers. Then, screw the knobs and pulls into place.
Tip: For this step, This Old House suggests making a jig out of plywood to keep the hole placement consistent when you’re drilling knob and pull holes.
For more tips and inspiration to make your kitchen looking new and beautiful, head to a Kitchen & Bath Classics showroom.